To order personalised equestrian clothing, agree the garment style, fabric, colour, logo artwork, placement and size breakdown before approving a decorated sample. Clubs and riding schools also need to check the production minimum early: EZ Equestrian’s starting MOQ is 100 pieces per style per colour. A small rider roster alone may not meet that minimum. This guide helps team organisers and brand buyers turn an idea into a clear manufacturing brief.
In this guide
1. Start with the team’s riding routine
A riding school’s instructor uniform, a club’s training kit and a brand’s retail collection can all carry the same logo while needing different garments. Describe who will wear the top, the climate, the expected layers and whether the group needs an everyday uniform or an event outfit. Include adult and junior requirements separately; do not assume one adult size chart covers every rider.
For a useful first enquiry, provide a reference image, your target market, preferred fit, sleeve length, colour direction, estimated quantities and required delivery window. State whether that date is for arrival or dispatch. This lets the supplier review feasibility before you spend time refining artwork.
2. Choose a riding top before choosing its decoration
Use this comparison to narrow the brief. Each option still needs a confirmed pattern, material and sample; a category name does not define the finished garment’s performance.
| Top type | Useful starting point | Details to confirm |
|---|---|---|
| Technical training T-shirt | Daily lessons and coordinated training kit | Neckline, sleeve shape, opacity, stretch and the feel of a logo against the body. |
| Equestrian polo shirt | A collared team or instructor uniform | Collar stability, placket, sleeve finish and whether the chosen knit supports the planned decoration. |
| Long-sleeve base layer or quarter-zip | Layered training outfits | Zip and collar comfort, arm movement, hem coverage and compatibility with an outer layer. |
| Show shirt | An outfit intended for competition use | The relevant organiser’s current dress requirements, collar details and visibility under the intended jacket. |
A long sleeve or a technical-looking fabric is not proof of a UPF rating, cooling effect or other tested performance. Agree any claim and its supporting evidence for the selected material.
3. Match the logo method to the fabric
There is no single best logo method for every riding top. Compare the design detail, garment stretch, finish, skin contact and care requirements. Request the proposed decoration on the actual fabric and colour, rather than accepting a sample made on an unrelated material.
Madeira’s embroidery backing guidance identifies fabric stability, stitch density and laundering among the factors affecting stabiliser selection. In practice, ask the decorator to review a lightweight or stretchy riding top before approving a dense embroidered crest. For heat-applied graphics on polyester, STAHLS’ dye migration guidance explains why fabric dyes can discolour a transfer; include a material-specific trial in the approval plan.
| Method | What to evaluate | Sample checks |
|---|---|---|
| Embroidery | Stitched texture, design density, backing and contact with the wearer | Readability at actual size; puckering; reverse-side feel; appearance when worn. |
| Heat transfer | Artwork detail, transfer material and compatibility with fabric stretch and colour | Edges, adhesion, feel, stretch response and possible colour migration under the agreed assessment process. |
| Screen-printed silicone | Raised finish, coverage and application suitable for the selected fabric | Edge definition, hand feel, flexing and the agreed care assessment. |
| Separate badge or patch | Patch construction, attachment method and added thickness | Attachment security, movement, snag points and comfort in the intended location. |
These are selection questions, not a universal ranking or a claim that every method suits every fabric. Confirm any separate badge option and individual rider names before quoting.
4. Prepare a logo file pack the factory can quote
Send one approved artwork pack with a revision name. A small screenshot from a social media profile may communicate the idea, but it does not reliably define production detail. Embroidery also needs digitising for the specific design and application; a vector file is artwork, not automatically a stitch file.
- Master artwork: a vector file such as AI, EPS, SVG or a suitable PDF where available; retain an editable original and provide an approved preview.
- Fonts and versions: identify the approved typeface or outline the final lettering, and label full-colour, single-colour and reversed versions clearly.
- Actual size: specify width and height in millimetres for each application, including any simplified small-logo version.
- Colour references: provide a physical reference or agreed colour standard for the garment, thread or transfer separately.
- Placement: show front, back and sleeve views with measurements from named seams or other repeatable garment points.
- Production permissions: confirm you can use club, sponsor and partner artwork, and identify who can approve changes.
- Personalisation list: if names are requested, provide exact spelling and placement as a separate controlled list after feasibility, charges and minimums are confirmed.
5. Confirm placement and colour on physical samples
“Left chest” is a starting description, not a complete positioning instruction. Define the garment’s left side as worn, name the measurement points and specify the artwork size. Review the placement on the intended size range so that a logo does not crowd a placket, zip, underarm or seam.
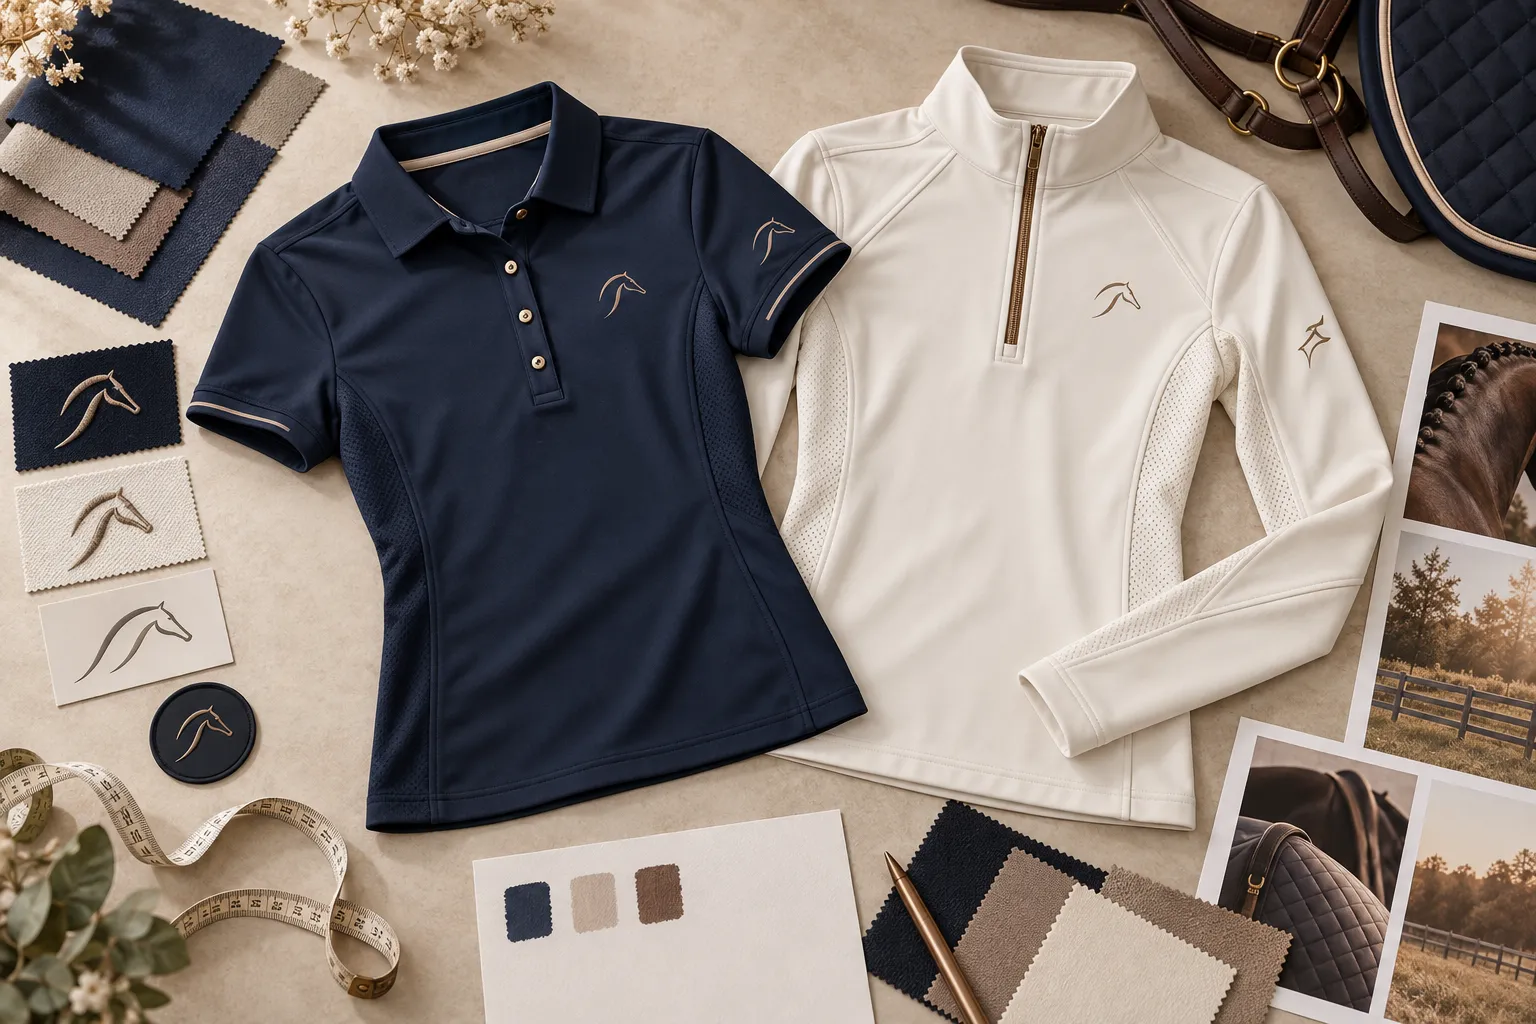
Approve garment fabric, embroidery thread, printed graphics and trims against their agreed references. The same colour code on different materials may not look identical. A monitor, digital mock-up or this article’s generated illustration cannot replace physical colour approval. Keep the approved swatch and decorated sample labelled with the same style and revision.
| Location | Information to supply | What to check when worn |
|---|---|---|
| Left chest | Logo dimensions and distance from defined neckline, shoulder or centre-front points | Balance, visibility and clearance from the placket or zip. |
| Sleeve | Which sleeve, logo dimensions and distance from a named sleeve seam or hem | Orientation and visibility with the arm in a riding position. |
| Upper back | Logo dimensions, centre line and distance below the collar seam | Collar coverage, shoulder movement and interaction with any outer layer. |
6. Build one size roster and calculate the actual order
Collect sizes against the proposed garment’s measurement chart, not against each rider’s usual retail size. Confirm whether measurements describe the body or the finished garment. If fit samples are available, agree which sizes can be tried and record the approved fit. Never silently convert a junior, women’s or unisex size into another fit block.
Use one coordinator and one final roster. Record a rider or allocation ID, garment style, colour, fit block, size, quantity and any separately approved name option. Check each row, then reconcile totals by style, colour and size before sending a purchase order. A version number and sign-off date help prevent late messages from becoming conflicting instructions.
EZ Equestrian’s starting MOQ is 100 pieces per style per colour, subject to the agreed project. For example, 100 navy polos plus 100 ivory polos make a 200-piece plan across two colours. Fifty navy and fifty ivory pieces do not make a 100-piece order in either colour. Two different top styles also need their own MOQ review. Size mixes, special fabrics and trims must be confirmed in the quotation.
If your club needs only 20 tops, say so at the beginning. Ask whether a suitable route exists; do not assume that custom production, individual embroidery or future repeat orders can bypass the stated minimum.
7. Approve the decorated sample and plan repeat orders
Review the complete top in its intended layers and riding posture. Check the collar, sleeve and hem alongside the logo: decoration can look acceptable flat yet sit awkwardly when the garment is worn. Agree how the sample will be assessed after the intended care process, including who will record any appearance, dimension or decoration changes. A visual approval alone is not a certified durability test.
Write down approved artwork, placement measurements, fabric and trim references, size chart, labels and packaging. List every requested correction with a photo and a clear required outcome. Confirm whether another sample or evidence of a correction is needed before production release. Keep the approved reference and the final specification together.
For repeat orders, retain the specification and artwork files, but reconfirm MOQ, material availability, colour matching, trim availability, pricing and schedule. A new fabric lot or a different transfer material should trigger a review of the affected details. Do not promise a future one-piece replacement unless it has been agreed.
Frequently asked questions about personalised equestrian clothing
Can a small riding club order fewer than 100 custom tops?
EZ Equestrian’s starting MOQ is 100 pieces per style per colour. Send your actual requirement before planning the collection; an alternative arrangement must be confirmed individually and should not be assumed.
Is embroidery better than heat transfer for equestrian polo shirts?
The choice depends on the artwork, fabric, placement, feel and care requirements. Compare both on the selected material where appropriate. Embroidery needs suitable digitising and stabilisation; heat transfer needs a compatible application and material assessment.
Can every rider have a different name on the garment?
Individual names require separate confirmation of production feasibility, spelling controls, application method, charges and minimums. Standard team branding does not automatically include a different name on every piece.
How long does teamwear sampling take?
EZ Equestrian’s standard sample development timeframe is approximately three weeks after the design, materials and key details are confirmed, subject to the project. Confirm revisions, transit and bulk production separately when working backwards from an event date.
What should I send to request a teamwear quote?
Send the intended use, top reference, fit and size range, garment colours, logo artwork and placements, quantities per style and colour, destination and required arrival date. Identify any requested individual names or tested performance claims.
Send a teamwear brief that can move into sampling
Share your top reference, logo pack, colour direction and quantities by style and colour. Add the size range and required arrival date. We can review the manufacturing fit and the details that need to be resolved before a decorated sample is approved.
TAKE THE NEXT STEP
Send your teamwear brief